

Last week l was going through some old fabric and found some Ikea curtain scraps in my stash that l remember keeping for just in case....they had been sitting there for 5 years so l thought it was about time l created something with them!
If you are a regular reader of my blog then you know l love all things pretty and vintage and especially LOVE a ruffle or two or three hundred!! I can't explain why l love ruffles so much, but when l was eying off my fabric scraps l thought, "Oh Wow" this would make such a pretty ruffle garland!
So here is a tutorial on how to create your very own Ruffle Garland out of fabric scraps to use for props, backdrops or bedroom decor!
RUFFLE GARLAND TUTORIAL
Step 1: Take your scrap fabric and measure the width and the length of your fabric.

Step 2: Divide your fabric into approximately 7cm strips and cut into lengths. My fabric length was 140cm and width was 28cm so l had 4 strips from one piece of fabric. (You don't need to worry about cutting it perfectly straight either as ruffles are rather forgiving!) From my scraps l created 12 strips and decided to create 4 garlands.

Step 3: If you want to create a 1.2 metre garland then take 3 lengths of fabric and pin together by matching the ends and securing with a pin. (you could make them as long or as short as you like but 3 lengths (420cm) will create a 1.2 metre garland approximately)
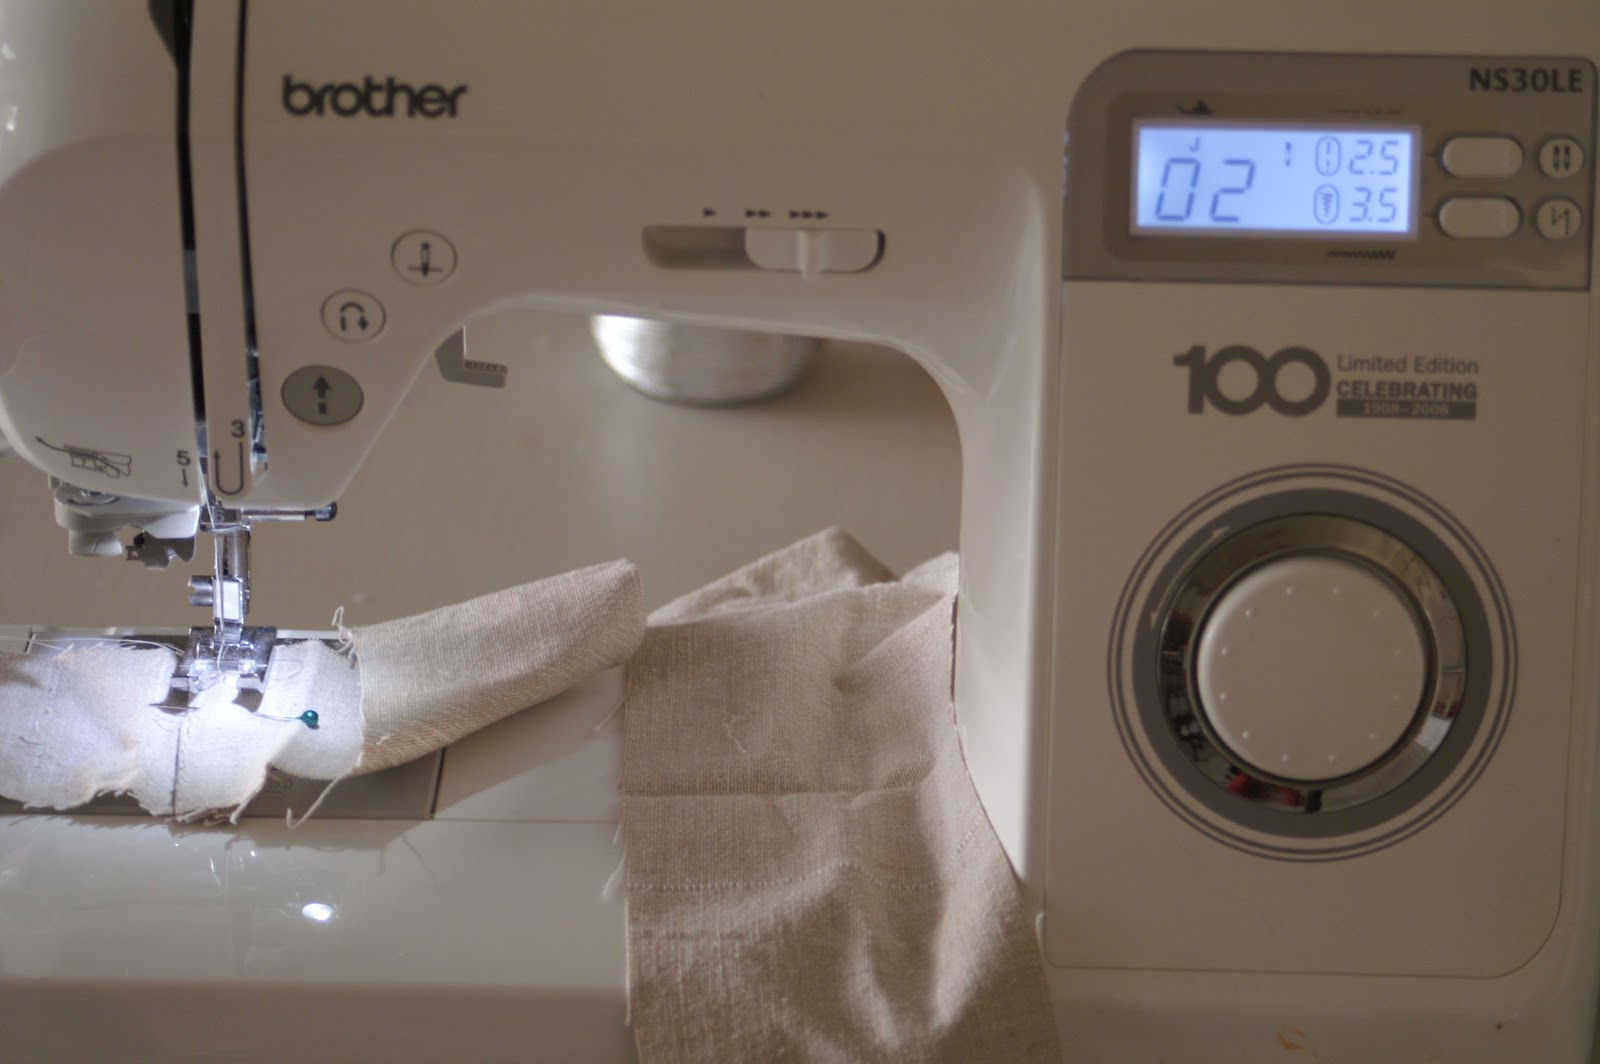
Step 5: Set your machine to a gather stitch. I set mine to 5 length of stitch and 2 for tension of stitch

Step 6: Sew your very long fabric strips down the centre using the gathering stitch.

Step 7: Take 1 thread between your fingers and then push fabric down the thread to create a gather and continue doing this for the entire length of the fabric. (you can adjust your ruffles to be tight or loose depending on the look you would like to achieve)
Step 8: Once your garland is complete tie off the ends with a couple of knots to secure. I left one end with threads which l formed into a loop for hanging.
Step 9: Trim any frayed edges off the garland and use to decorate! If you don't want the frayed edging then you can pre-sew the edges or use a overlocker and you would need to do this after step 2.
I hope you have enjoyed this tutorial and look forward to seeing your ruffles in action!!
Have a great week Lovelies! Don't forget to Bake, Create and Celebrate!
XOXO
Larissa
Looks great Larissa...I need a sewing machine!
ReplyDeleteVery cute! I haven't used my sewing machine in years.
ReplyDelete